Step-by-Step: How To Change The Oil In Your Pressure Washer
Introduction
Most of us know that keeping up with oil changes is essential if we want our pressure washers to stay reliable and run well over time.
My latest machine was bought brand new, so the first oil change came around quicker than it would for an older setup. This was my first time doing a full oil change myself, including the engine, pump, and gearbox.
It’s usually recommended to do the first oil change after around 50 hours, for the engine, gearbox and pump. I think the typical time scale there after, is about every 100 hours of use, give or take.
I stuck to those guidelines to help give the machine the best chance at a long life and reliable performance.
In this short article, I’ll show you the steps I took to get it done.
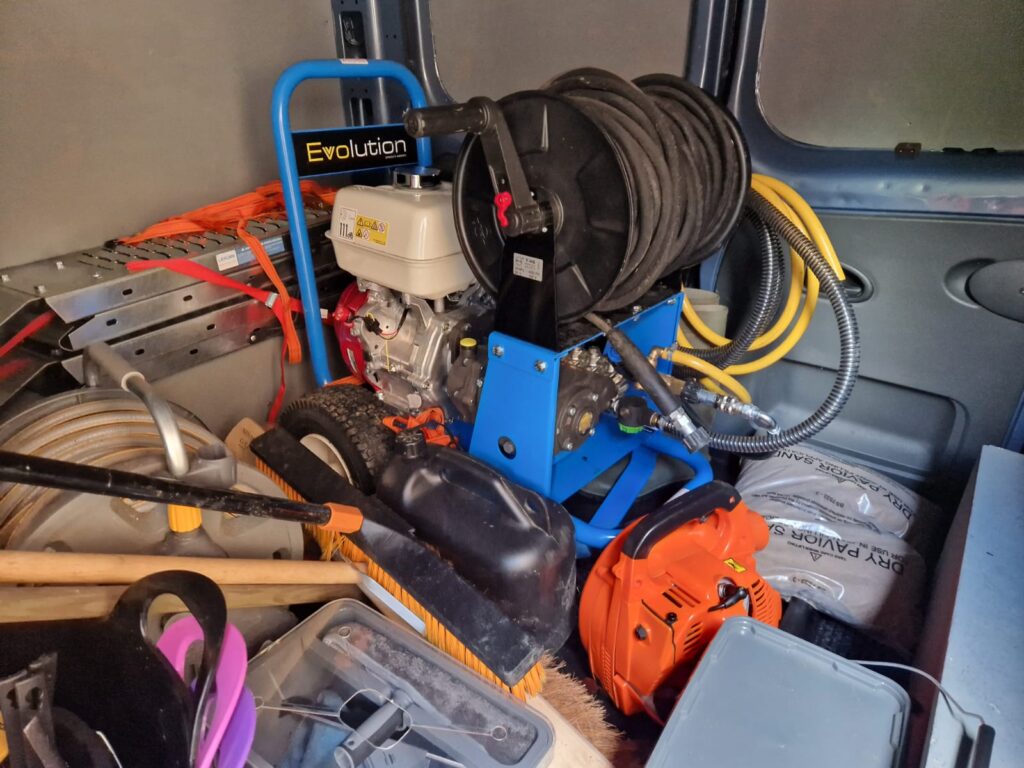
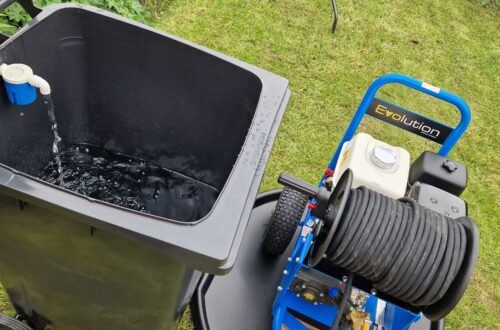
Engine, Pump & Gearbox
My machine has the following engine gearbox and pump.
- Honda GX390
- Interpump 59 series pump
- Interpump RS500 Gearbox
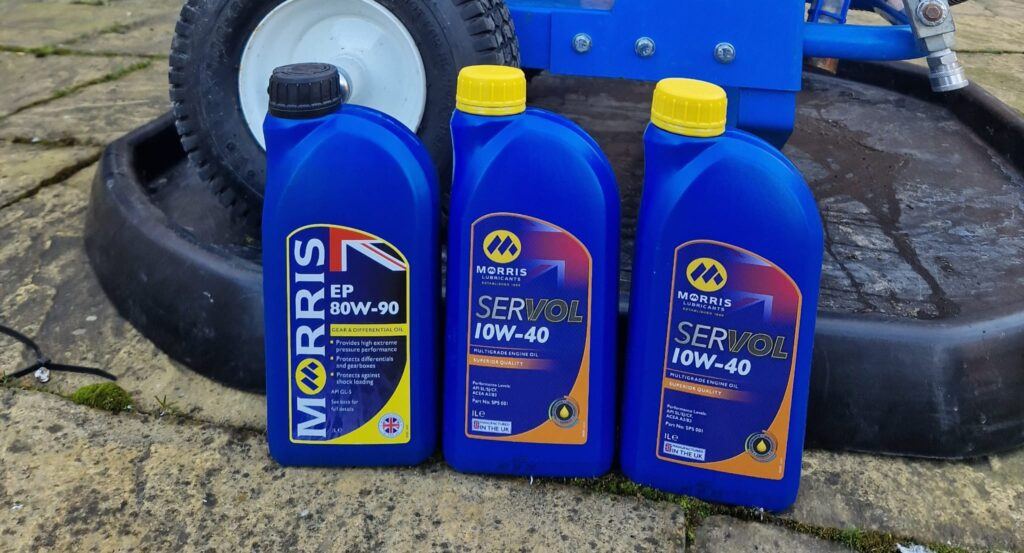
Again, before buying any oil, for any of your pressure washers components, please check manufacturers specifications first. I bought these as a package from Rutland Pumps. I’m under the impression that these oil types a generic for most pressure washers.
Tools Needed
Basic Tools You’ll Need
The tools required to change the oil are fairly simple:
- 12mm spanner – for removing the sump plug on the engine
- Adjustable spanner – for the sump plugs on the gearbox and pump
That’s pretty much all you need to get the job done. No specialist tools required, just a bit of time and a steady hand.
Additional Equipment
What I Used to Catch the Oil
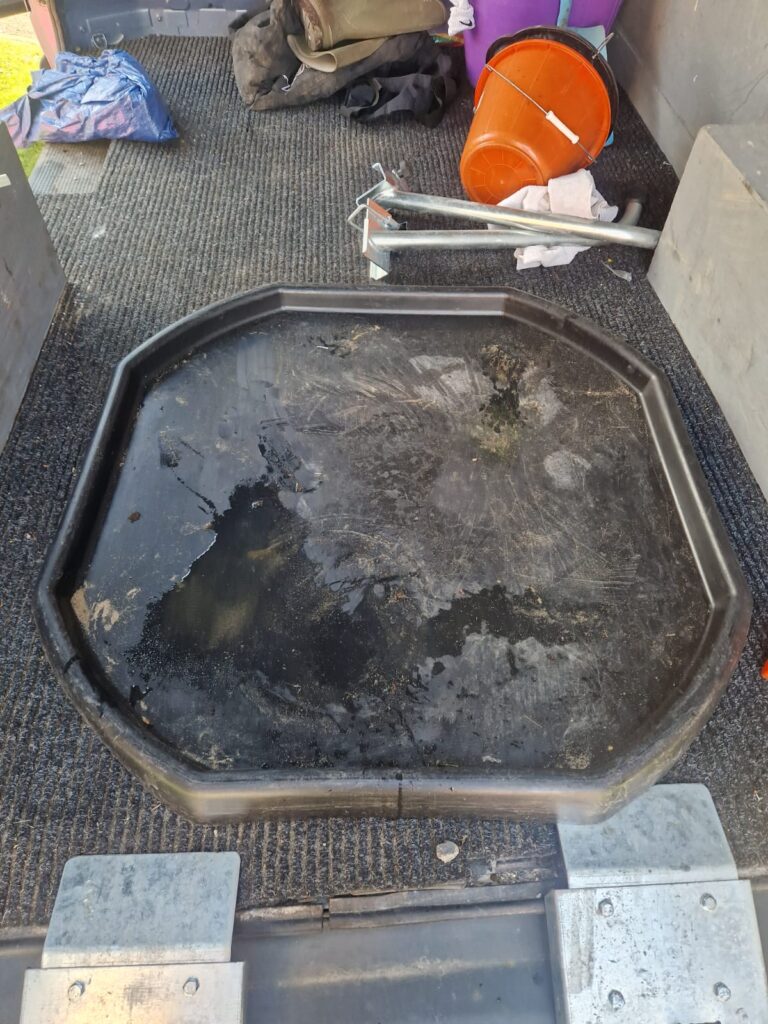
You’ll need something to safely catch the oil when you drain it. An oil pan is ideal, but if you don’t have one, you can use anything that’s shallow and leakproof.
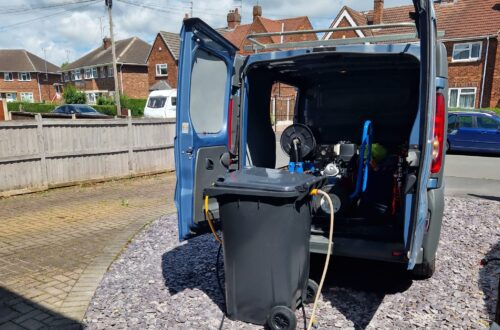
I used my cement mixing tray, which actually doubles up as the base I keep my pressure washer on when it’s in the van. It helps contain any oil or water that might leak during transport and also protects surfaces when I’m working near customers’ driveways or patios.
If you’re regularly working with pressure washers, a tray like this is well worth having, it’s a simple way to avoid mess and potential stains on job sites.
Use a Funnel
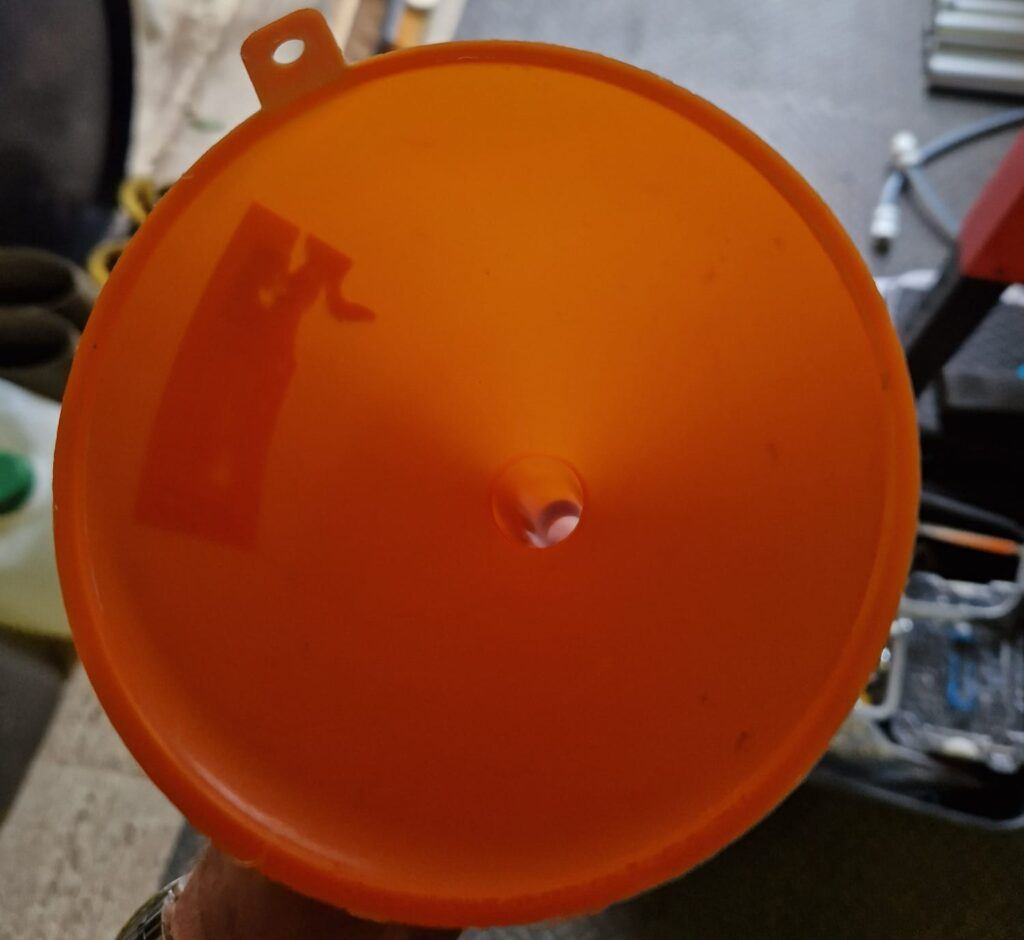
When it comes to topping the oil back up, a funnel makes life a lot easier.
It helps guide the oil straight into the fill point without spilling it all over the engine or pump, which can happen easily if you’re pouring straight from the bottle.
It might seem like a small thing, but using a funnel really does keep the mess to a minimum and saves time on clean-up.
Kiln Sand for Easy Clean-Up
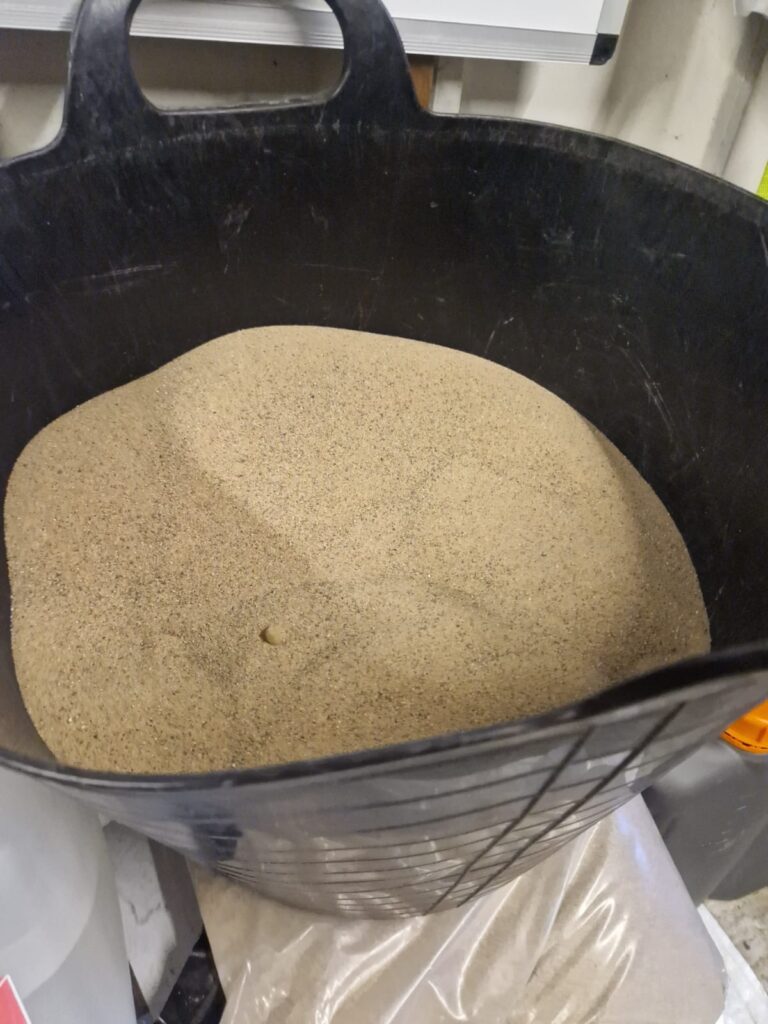
Since I didn’t use a sealed container to collect the old oil, I poured some spare kiln dried sand onto the mixing tray to soak it up, and it worked perfectly.
The sand absorbed the oil really well, making it easy to scoop into an old bucket afterwards. From there, I disposed of it safely and legally.
If you’ve got some kiln sand lying around from patio re-sanding jobs, it’s a handy option for oil spills too. Just another way to make the process cleaner and more efficient.
Nitrile Gloves
Oil & Other Components
A Quick Note on Maintenance
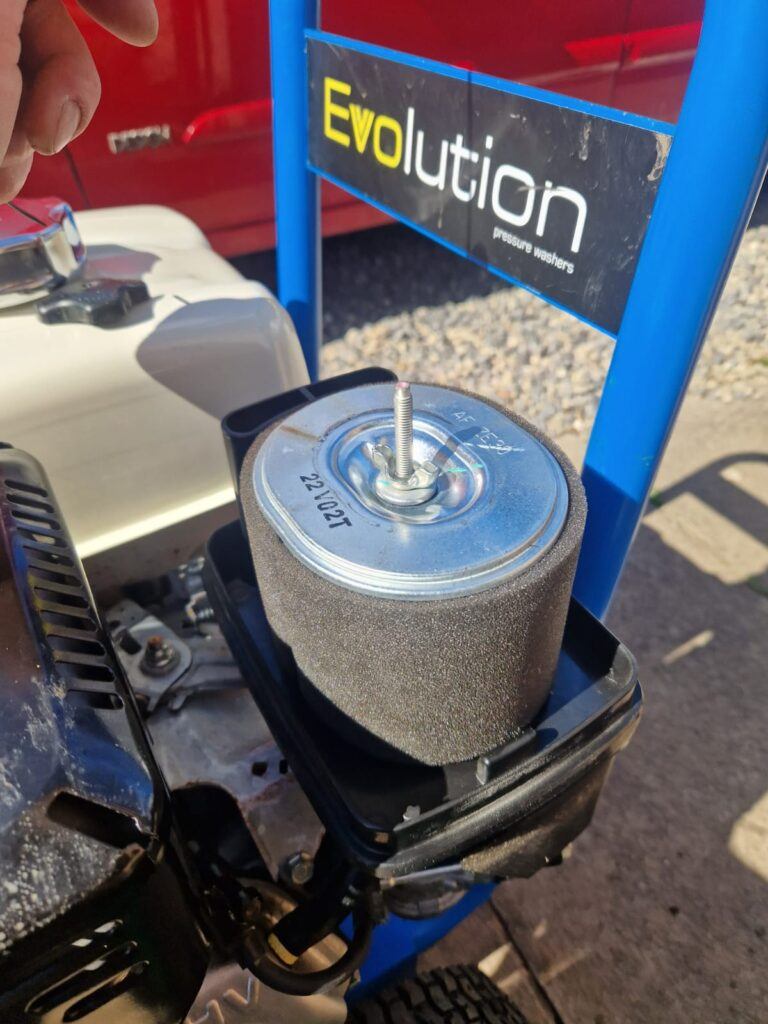
Since my pressure washer is still fairly new, I checked the air filter, spark plug, and a few other parts while I was at it, all of them were still in great condition.
That said, if you’re working with an older machine, it might be a good idea to replace the air filter and spark plug when doing your oil change. It’s a simple way to keep the engine running smoothly and avoid issues later down the line.
The Oil I used
Engine Oil (10W -40)
Pump Oil (10W – 40)
Gearbox Oil (80W -90)
How I Changed the Oil on a Pressure Washer
Here is how I did it:
1. Warm the Engine
First, I started the engine and let it run for about five minutes.
This is just to heat the oil up, which helps with draining because the oil will be less thick when it is warm.
2. Raise One Side of the Pressure Washer
Once the oil was warmed up, I raised one side of the pressure washer by sticking a 100mm step underneath the wheel on the left side.
Again, this helps the oil to run out of the sumps easier, making sure you get as much of the old oil out as possible.
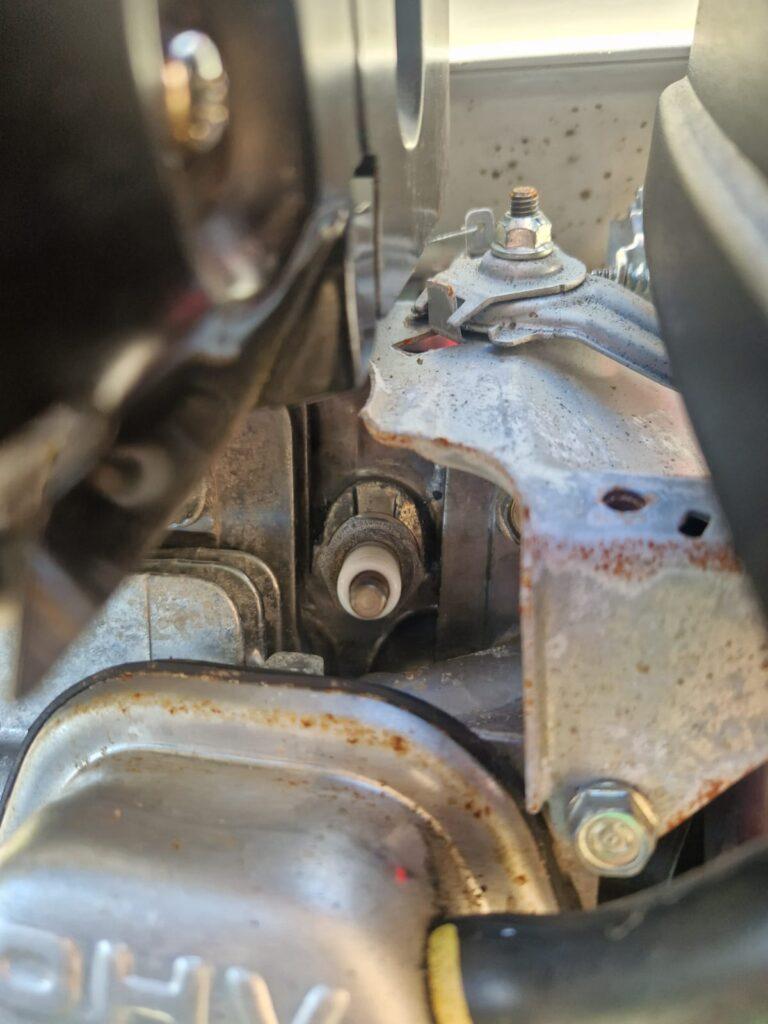
3. Loosen the Sump Bolts and Drain the Oil
After that, I simply loosened off the sump bolts, starting with the engine, and let it drain.
I left the sump bolts out until no more oil was coming out of any of the components.
4. Clean and Prepare for Refilling
Once I was sure all the oil was removed, I levelled the pressure washer back out.
I then wiped it down using the best wipes out there called Heavy Duty Big Wipes.
5. Refill with New Oil
Now that all the old oil had been removed, I used two small funnels to refill with new oil.
It is probably best to have two funnels as you will be using two different types of oil.
I added a little bit at a time and kept checking the level with the dipsticks until I reached the desired level.
Final Thoughts
And that is about it really.
It is quite an easy task if I am honest, just make sure you have the right equipment to deal with the old oil because it can get very messy if it is not controlled properly.
Common First-Time Mistakes to Avoid
Using The Wrong Oil
I know that I have mentioned a few times previously but I thought it be best to just mention it again. Make sure you double check which oil you are using. I don’t just mean when you buy it but also when you are in the process of actually replacing it. This goes for the, engine, gearbox and pump.
Not tightening the plug properly (leaks)
Make sure you tighten the sump bolts up nice and tight. Obviously you don’t want to over tighten them but just double check these again before you start the engine.
Overfilling — can damage the machine.
Don’t over fill the engine, more is not better in this situation. Just use the dipsticks or glass gauge’s to determine when you are at the correct level.
Skipping the user manual altogether.
If you have a user manual then it’s probably best to use it in this occasion if you have not done this before.
Bonus Tip: Keeping Track of Oil Changes
Subheading: Make It a Habit, Not a Hassle
- Use a simple notebook, spreadsheet, or phone reminder to track when you last changed the oil.
- Include hours used, date changed, and type of oil.
- Helps protect your investment long-term.

You May Also Like
What Do I Need To Start A Pressure Washing Business
What You Need to Know Before Starting a Driveway Pressure Washing Business