4 Common Mistakes To Avoid When Using Jointing Compound On Patios
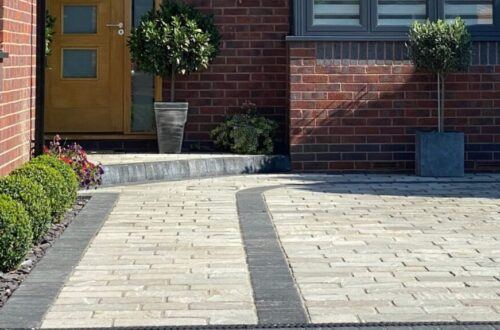
If you’re in the exterior cleaning business and offer pressure washing services, it’s highly likely that you’ll encounter a job requiring the cleaning and re-jointing of a patio at some point. This could involve Indian sandstone, concrete, or any other commonly used patio slabs.
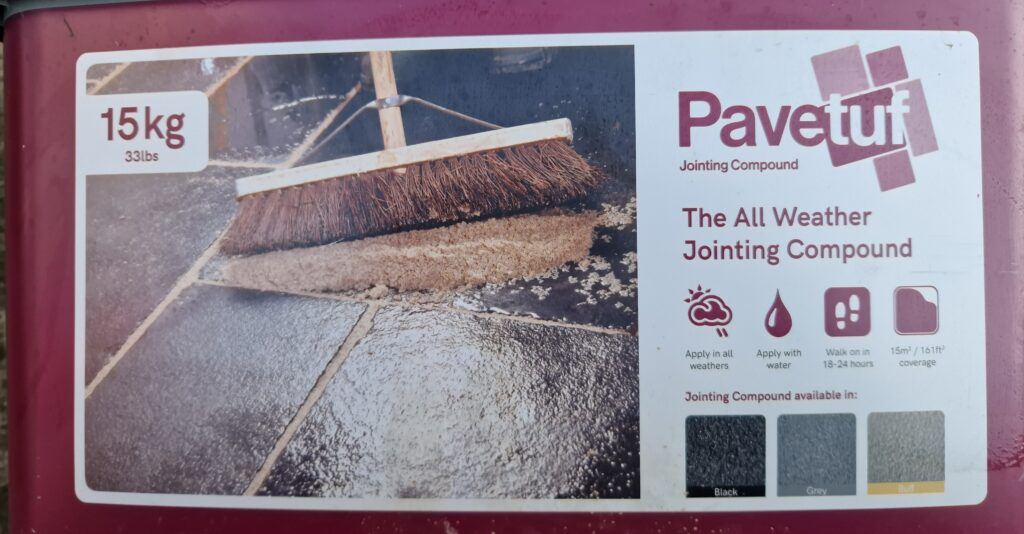
When it comes to re-jointing patios, there are essentially two options: the traditional method of sand and cement, or a modern jointing compound such as Pavetuf.
In this article, my main aim is to share my insights on applying jointing compound. While it may seem like a relatively simple task, there are a few things that have caught me out, which I’d like to pass on.
By mastering the right techniques and avoiding common mistakes, you can save time, cut costs, and provide high-quality results that will leave your clients satisfied.
Section 1: Understanding Jointing Compound for Patios
What is Jointing Compound?
A jointing compound is used to fill the gaps between patio slabs, securing them while providing a neat, attractive finish. It offers a quicker alternative to the traditional sand and cement method without compromising on quality.
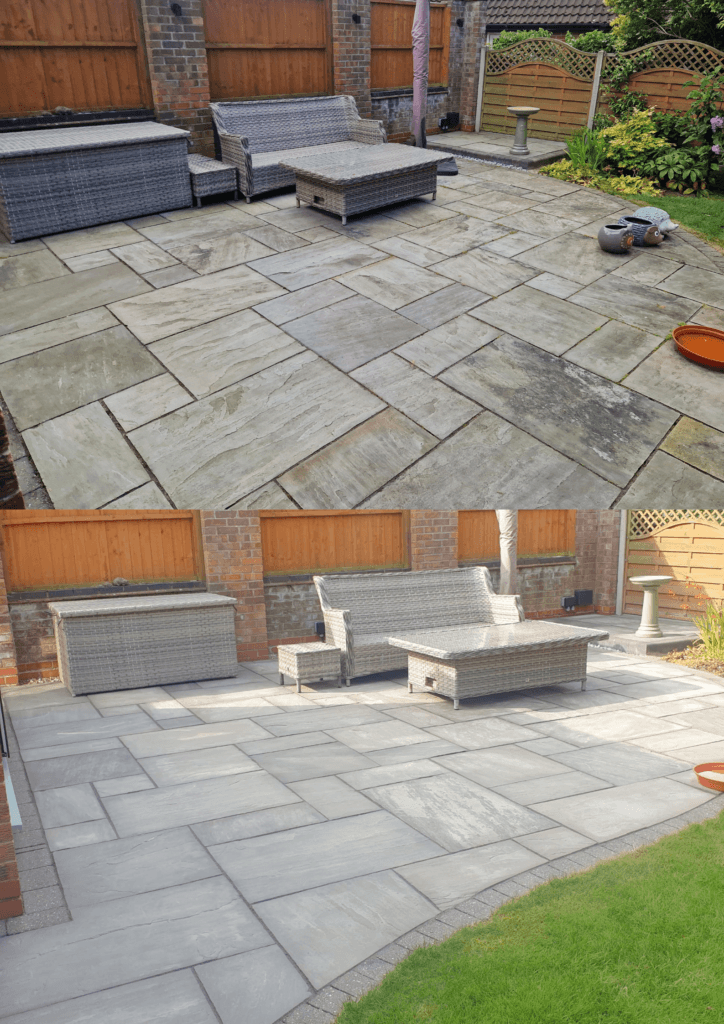
When applied correctly, the compound delivers a strong, durable, and aesthetically pleasing finish that can last for years. In addition to enhancing the appearance of the patio, jointing compound also ensures that the slabs have the necessary stability and structural integrity.
How to Apply Resin-Based Jointing Compounds
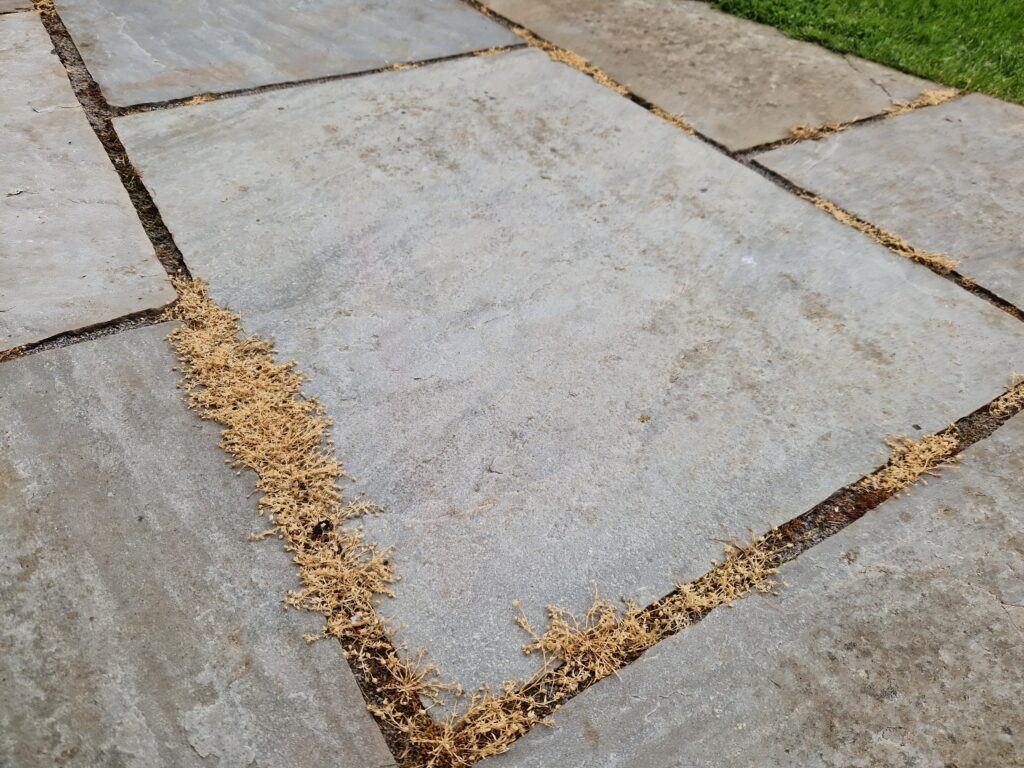
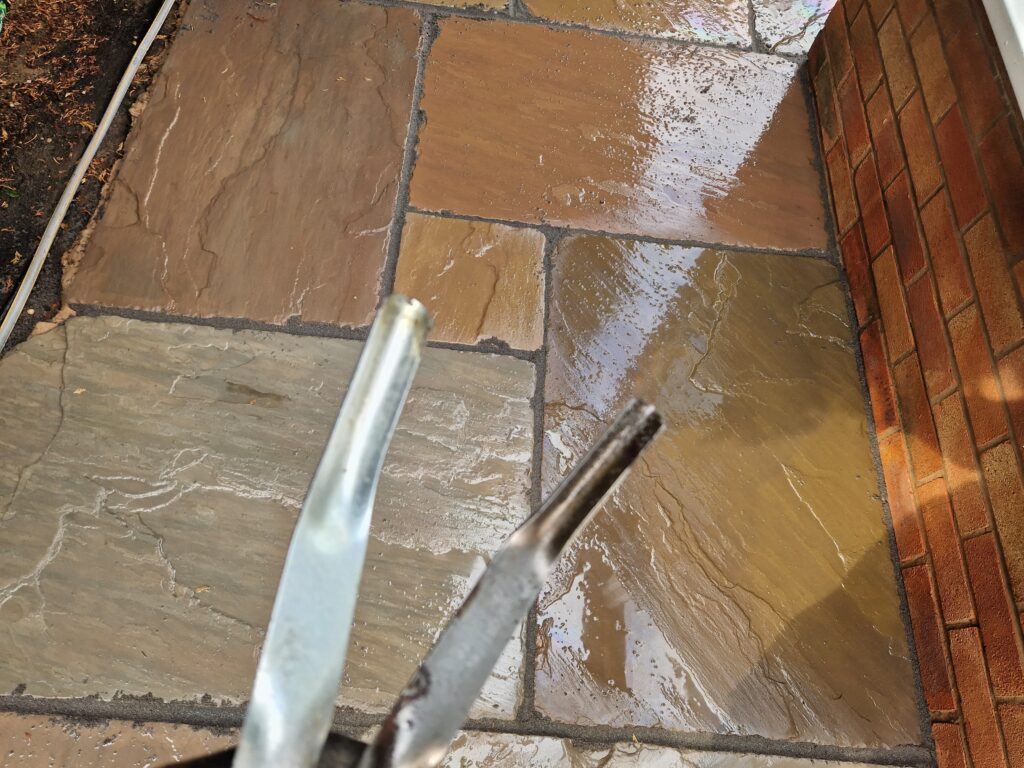
- First, thoroughly clean the patio with a pressure washer, and any other necessary treatments, making sure to remove any existing jointing compound so the slabs are clean and the joints are completely empty, ready for re-jointing. In my experience, the easiest way to remove the old jointing compound is by using a turbo or rotary nozzle while pressure washing. This method usually removes all of the existing compound, making the process much simpler.
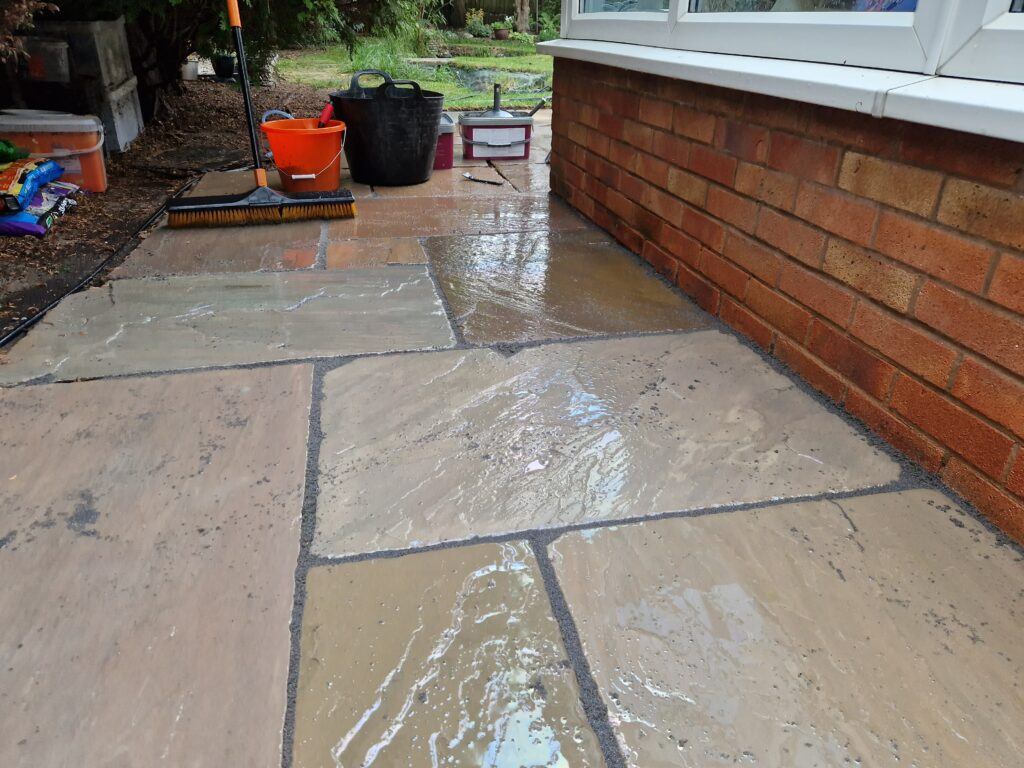
- Applying the new jointing compound is a simple process. Begin by wetting the area where the compound will be applied, and also add water to the tub of jointing compound. Next, pour the compound onto the soaked slabs and sweep it into the joints, ensuring the compound stays wet as you work. Once the joints are filled, use a pointing trowel or brick jointer to compress and smooth them, making sure they are solid and neatly finished.
The Pros of Using Jointing Compound
Easier To Apply
As I mentioned earlier, using jointing compound will save you a lot of time compared to using sand and cement. The main reason for this is that with sand and cement, you have to be extremely careful not to get any of the cement mix on the slabs, as it can be a real hassle to remove and will stain almost immediately. So, when you compare that to simply sweeping in the jointing compound, you can easily see why it is a preffered method for many.
More Asthetic Finish
This might just be my personal opinion, but I find that using jointing compound gives most patio types a better overall finish. Some may disagree, but the texture and variety of colours available in jointing compounds make it easier to match with different types of paving slabs. This flexibility allows you to offer customers more choice in how the patio will look once completed.
Faster Setting Time
Jointing compound generally has a faster setting time than cement, which means your customers can access the area sooner. It also reduces the risk of weather interference and minimises the chance of damage during the curing process. Overall, it offers peace of mind in these aspects, with less worry about delays or potential issues.
Not As Weather dependend
Because a resin-based jointing compound needs to be soaked first, and the paving slabs must be wet before application, it is less dependent on dry weather conditions. This flexibility allows for more opportunities to work, even in damp conditions, without compromising the quality of the finish.
Weed Prevention Properties
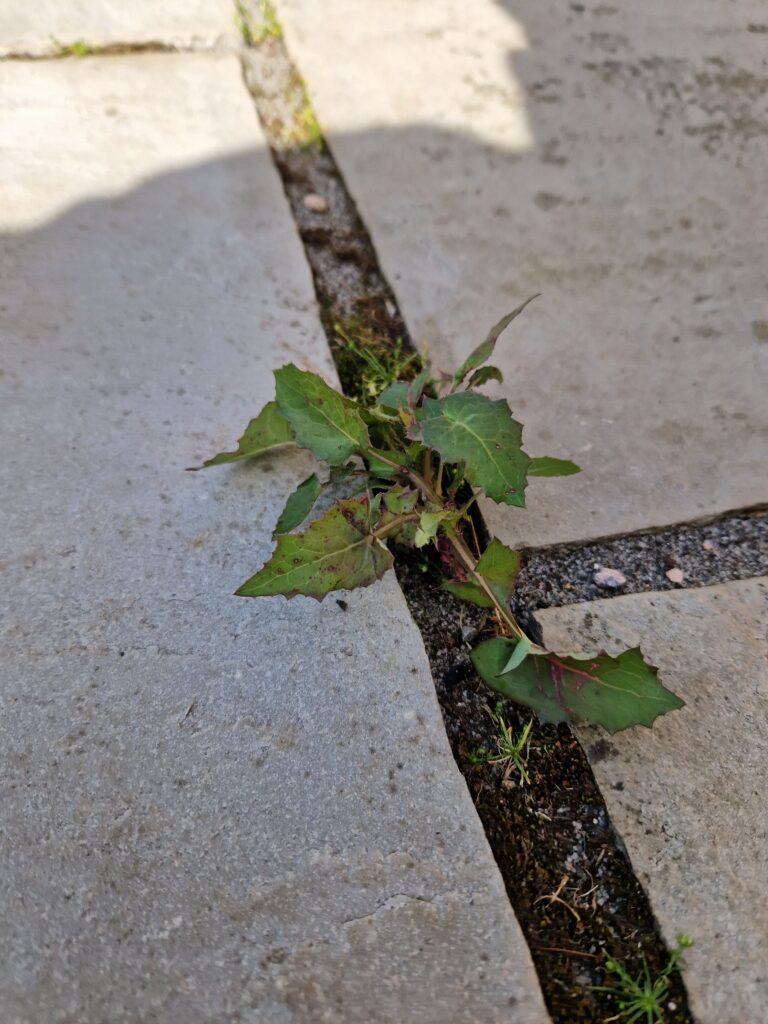
Most manufacturers of jointing compounds I’ve used claim their products have weed-prevention properties. While I’m not entirely sure how these work, I can confidently say I’ve had no complaints about weed growth on any patios I’ve re-jointed.
Weeds don’t typically thrive in patios, though you might occasionally find a few. While some areas may be more prone to weed growth than others, it’s not usually a major concern when working with paving slabs. Still, it’s reassuring to know that most jointing compounds include weed-prevention properties, offering extra protection if needed.
Section 2: Understanding The Cons Of Using Jointing Compound
In this section, I’d like to discuss some of the mistakes I personally made when quoting my first few re-jointing jobs. By sharing these, I hope to give you a better understanding of the key things to consider when taking on similar projects.
Consideration 1: Joint Width & Depth
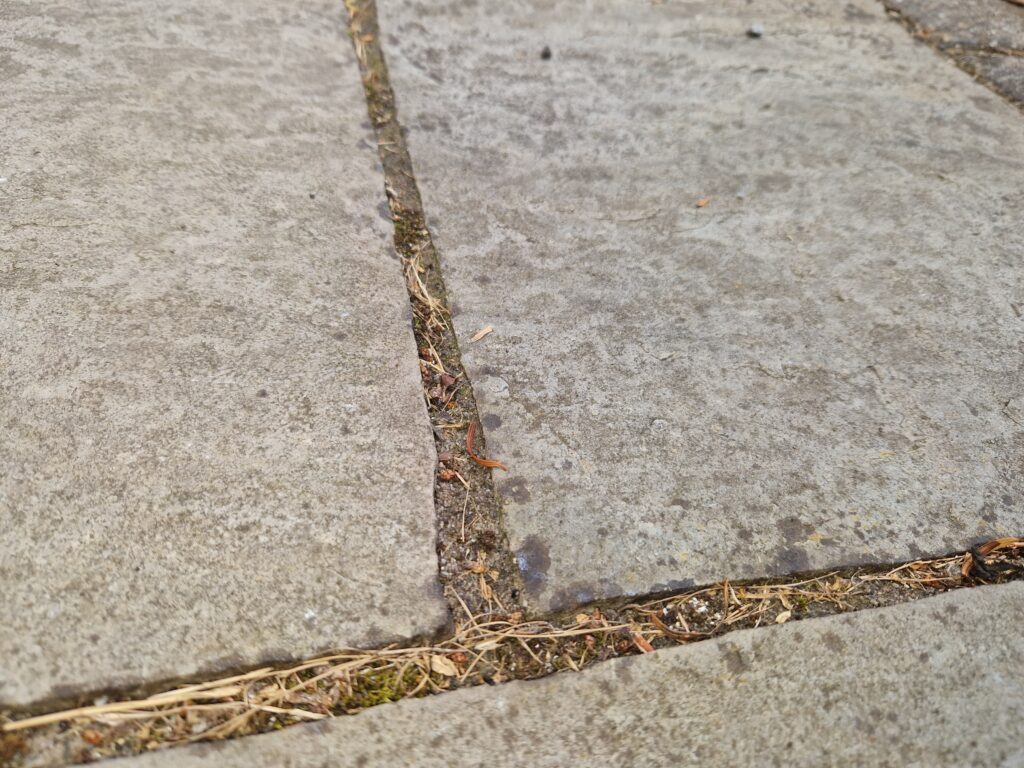
A tub of jointing compound usually has the coverage stated on the label, typically saying something like “each tub covers 15-20m².” However, it’s important to understand that these measurements are based on patio joints that are around 5mm in width and 20mm in depth.
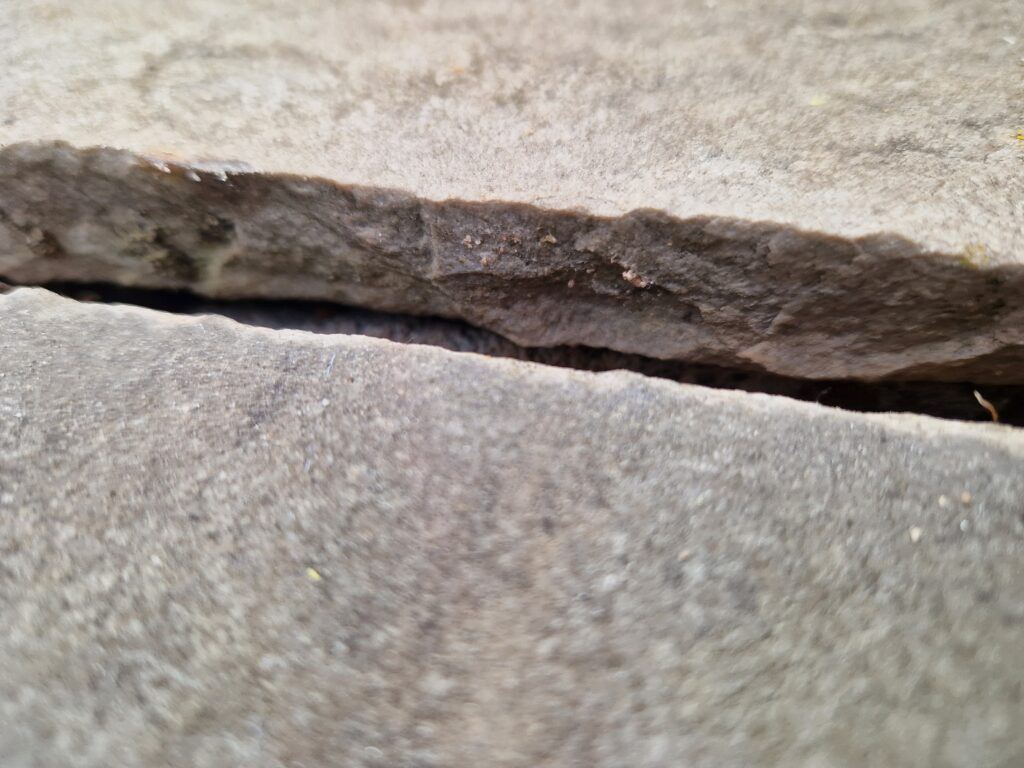
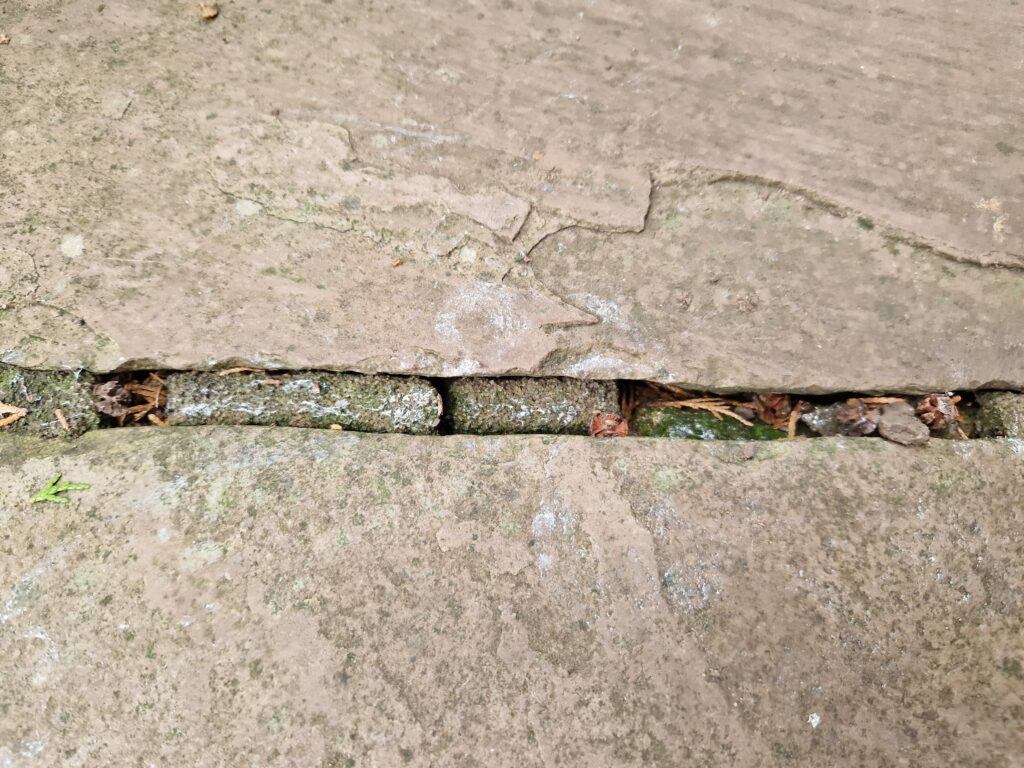
This is crucial to consider when quoting for jobs because, after removing the old jointing compound, you’ll often find the joints are much larger than 5mm wide and 20mm deep. In fact, on many types of paving slabs, such as Indian sandstone, the joints can be closer to 20mm in width and 40mm in depth once pressure washed.
I learned this the hard way on two occasions, where I underestimated the amount of jointing compound needed. This resulted in me having to purchase additional tubs, costing me far more than I had originally budgeted for. On my first re-jointing job, I ended up using twice as much compound as I had planned for.
Jointing Compound is Expensive
Although jointing compound has clear advantages over the traditional sand and cement method, it is considerably more expensive.
For instance, using the previous example, covering a large area with joints measuring 20mm in width and 40mm in depth can quickly become costly, especially when one tub costs between £30-£40. This can result in several hundred pounds in material costs alone, not including labour, cleaning, or other expenses.
Initially, this was discouraging, as I didn’t want to lose potential jobs by quoting high material costs. However, after doing some research, I found a solution to help manage these costs.
Whats The Solution?
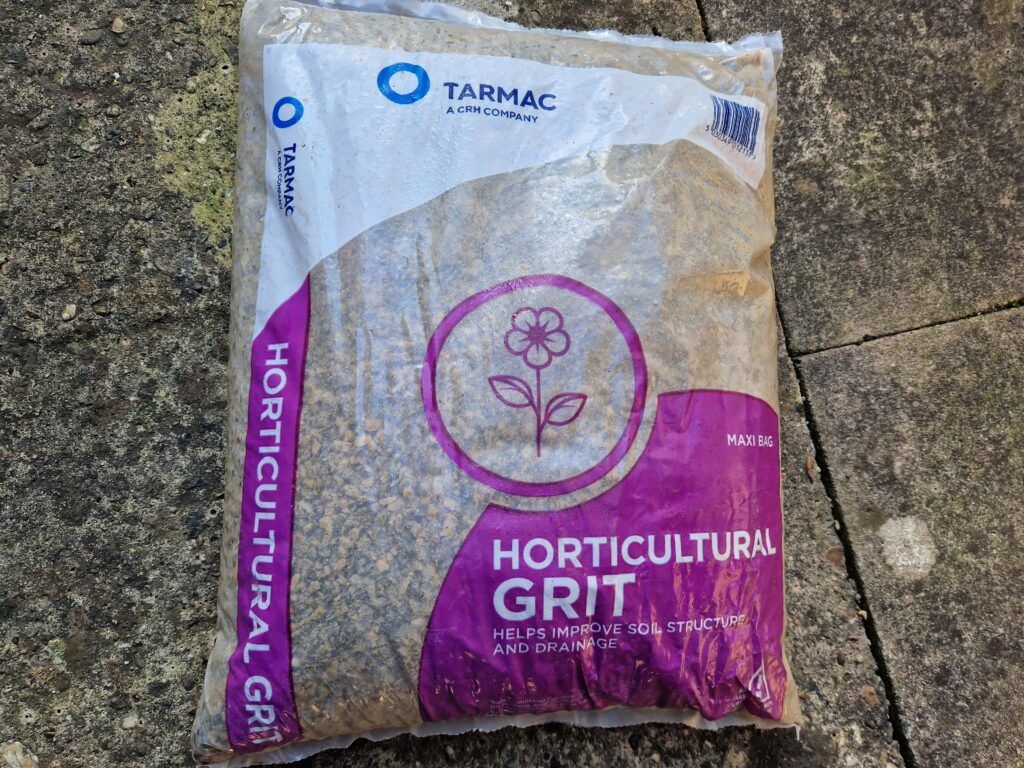
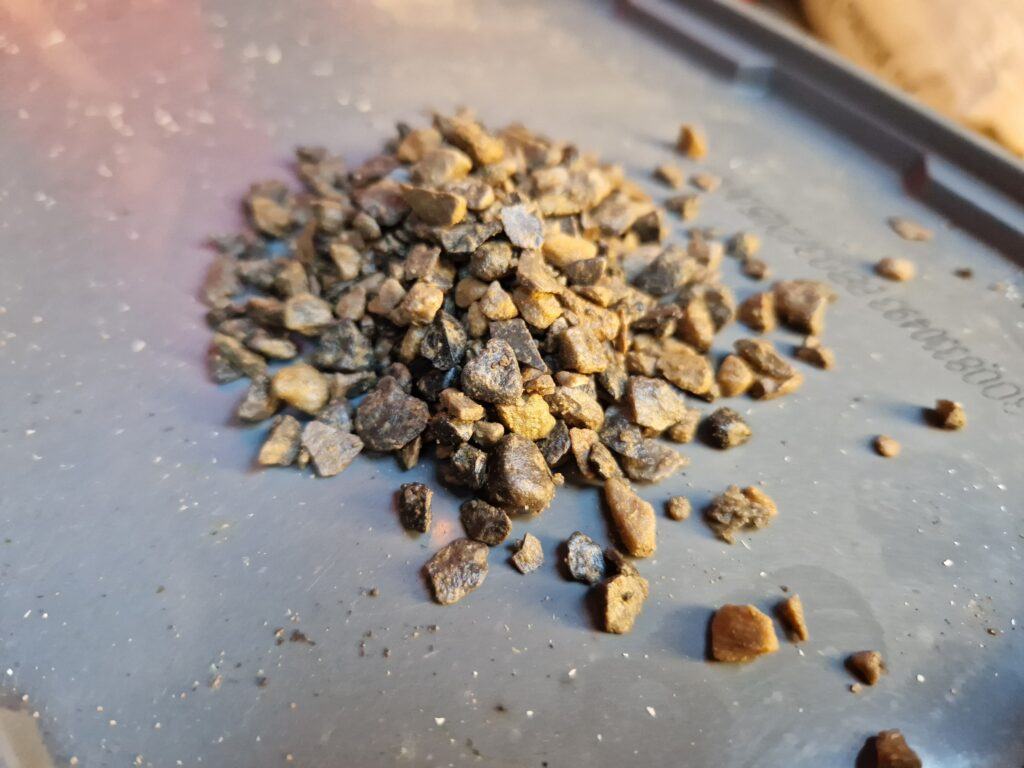
The best solution I’ve found for this problem is using horticultural grit.
Horticultural grit is a type of coarse granite, typically around 5mm in diameter, commonly used in gardening to improve soil drainage. Its excellent drainage properties and ideal size make it perfect for creating a base under jointing compound. I now use this method in my re-jointing jobs to fill the deeper gaps between slabs, ensuring a more even base across the entire area.
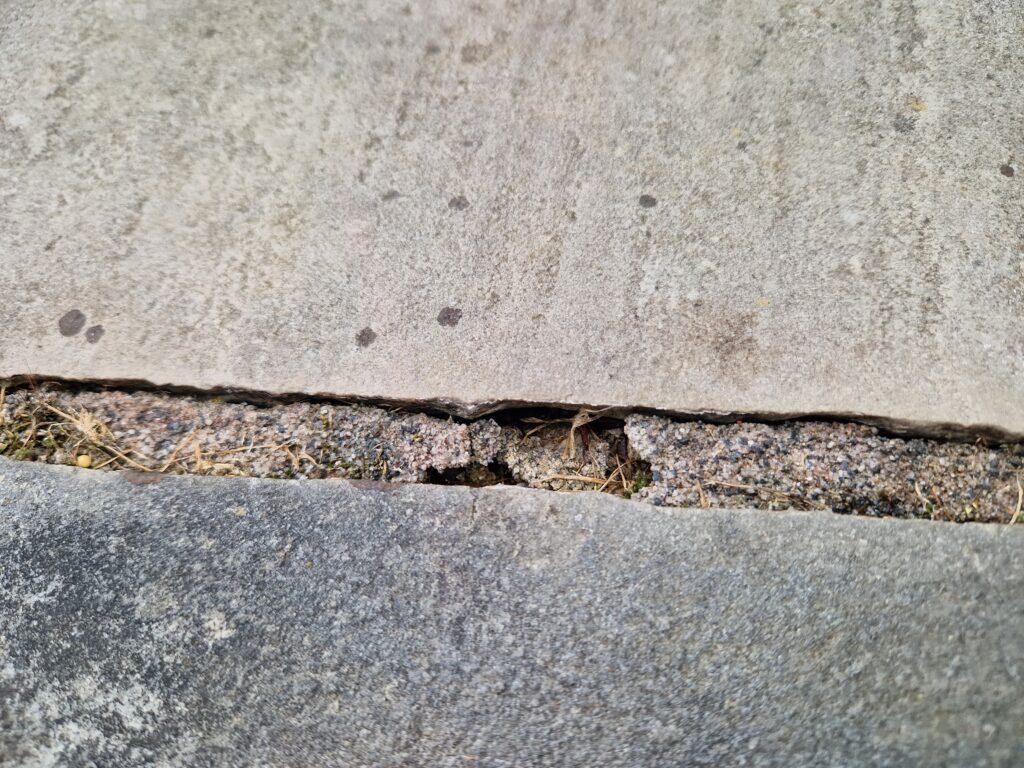
For example, if I encounter a gap between slabs that’s 40-50mm deep, I pour horticultural grit into the gap to reduce the depth from 40mm to around 25mm. This helps me better estimate how much jointing compound is needed, allowing for more accurate quotes.
The added benefits of this approach are substantial. By providing a solid, permeable foundation with horticultural grit, the jointing compound bonds securely without compromising the structural integrity once it sets. It’s similar to using a Type 1 base when laying concrete, resulting in a similarly solid end result.
Another advantage is that you’ll use less jointing compound, which reduces material costs, making your quote more attractive to potential customers. Plus, this can increase your profit margins, so it’s a win-win situation.
Consideration 2: Keeping The Slabs Wet through application
The second thing to consider when using jointing compound is to ensure the surface remains wet at all times. Do not let it dry whilst you are applying the resin compound.
Jointing compounds are typically resin-based, meaning they are an oil-based product. As you apply the compound, you’ll notice resin residue in the water while sweeping it into the joints. This is completely normal and is why it’s important to keep the surface wet throughout the process.
If you fail to keep the area sufficiently wet, you run the risk of allowing too much of the residue to dry on the recently cleaned slabs, which could result in staining.
Whats The Solution?
To avoid staining, it’s best to work in small sections at a time. Start by wetting a pre-determined area, then brush in the jointing compound. Shortly after, use a brick jointer to compress the compound into the joints.
Once that’s done, lightly brush over the slabs to remove any loose compound, and then use a garden hose to wash away as much residue as possible before moving on to the next section.
This approach helps to prevent staining on the slabs and ensures a cleaner, more professional finish once everything has dried.
Consideration 3: Minimum Joint Depth & Compacting the joints
I know I’ve already touched on this earlier, but it’s important to explain why compacting the jointing compound and ensuring a minimum joint depth is so crucial.
Minimum Joint Depth
Jointing compound can sometimes become brittle over a short period of time, and this usually happens for two main reasons.
The first is that the joints aren’t deep enough. For instance, if you have a joint that’s only 10mm deep, it’s more likely to crack and disintegrate due to changing weather conditions. It might hold up fine during spring and summer, but once winter arrives, there’s a higher risk of it cracking and eventually falling apart.
Predicting the longevity of jointing compound can be difficult. I’ve seen properties where the jointing compound has lasted six years and still looked fine, and others where it failed completely after just two years.
One thing I’ve noticed with the patios where the compound didn’t last is that the joint depth was shallow. This leads me to believe that insufficient depth is a key factor in premature cracking and breakdown of the jointing compound.
To avoid this, it’s best practice to ensure the joints have a depth of at least 20mm, but not excessively deep as mentioned earlier. This depth provides the jointing compound with enough structure to cure properly, allowing it to bond more effectively to the base and sides of the slabs.
Compacting the Joints

Secondly, it’s essential to properly compact the joints. Some people may have the tendency to simply sweep the compound into the joints and leave it, often due to time constraints.
While it does take longer to ensure all the joints are compacted and neatly finished, this is the correct approach. If you skip this step and don’t properly compress the joints using something like a brick pointer, your customer is almost guaranteed to experience jointing compound failure sooner than expected.
Taking the extra time to compact the joints thoroughly will not only ensure the longevity and durability of the jointing compound but also result in a cleaner, more aesthetically pleasing finish.
Don’t let common mistakes ruin your patio re-jointing projects!
At MSRCleanTech, we understand the details that make all the difference in achieving a professional, long-lasting finish. From proper joint depth to preventing staining, we’ve mastered the techniques to deliver exceptional results every time.
Whether you’re looking for tips or a homeowner needing expert help, MSRCleanTech is here to help. Contact us today for tailored advice or a free quote on your next patio project.
Exterior Cleaning, England, South Yorkshire UK

You May Also Like
What You Need to Know Before Starting a Driveway Pressure Washing Business